Showing posts with label St. Patrick's Day. Show all posts

Tuesday, March 1, 2016

St. Patrick's Day Punch Art Leprechauns!

Leapin’ Leprechauns! Celebrate St. Patrick’s Day and share the luck of the Irish with your friends and family with these fun treats and cards. People can’t help but smile when they see these adorable punch art leprechauns and shamrocks. This project includes two treat holders, a bookmark, and two matching cards. They are fun for grown-ups and children alike and would also make a great class or club.

This super cute project was made by Yapha Mason, and you can get her tutorial when you subscribe to the month of March over at Craft Project Central.

Thanks for stopping by,


Julie B

Thursday, February 12, 2015

Lucky Framed Art Gift Set!

Make someone’s St. Patrick’s Day the luckiest one yet with this gift set! You’ll make this fun and festive Lucky Framed Art that is cute to display anywhere in your home or workspace. You’ll also learn how to make the simple, but creative Treat Box. And top off the gift set with a coordinating greeting card! This would make a fun class to host with your crafty friends too!
This project was made by ME!! You can the tutorial for my project when you subscribe of the month of February over at Craft Project Central.
Thanks for stopping by,
Julie B 


Thursday, March 7, 2013

Scallop Square Pocket Treat Tutorial!


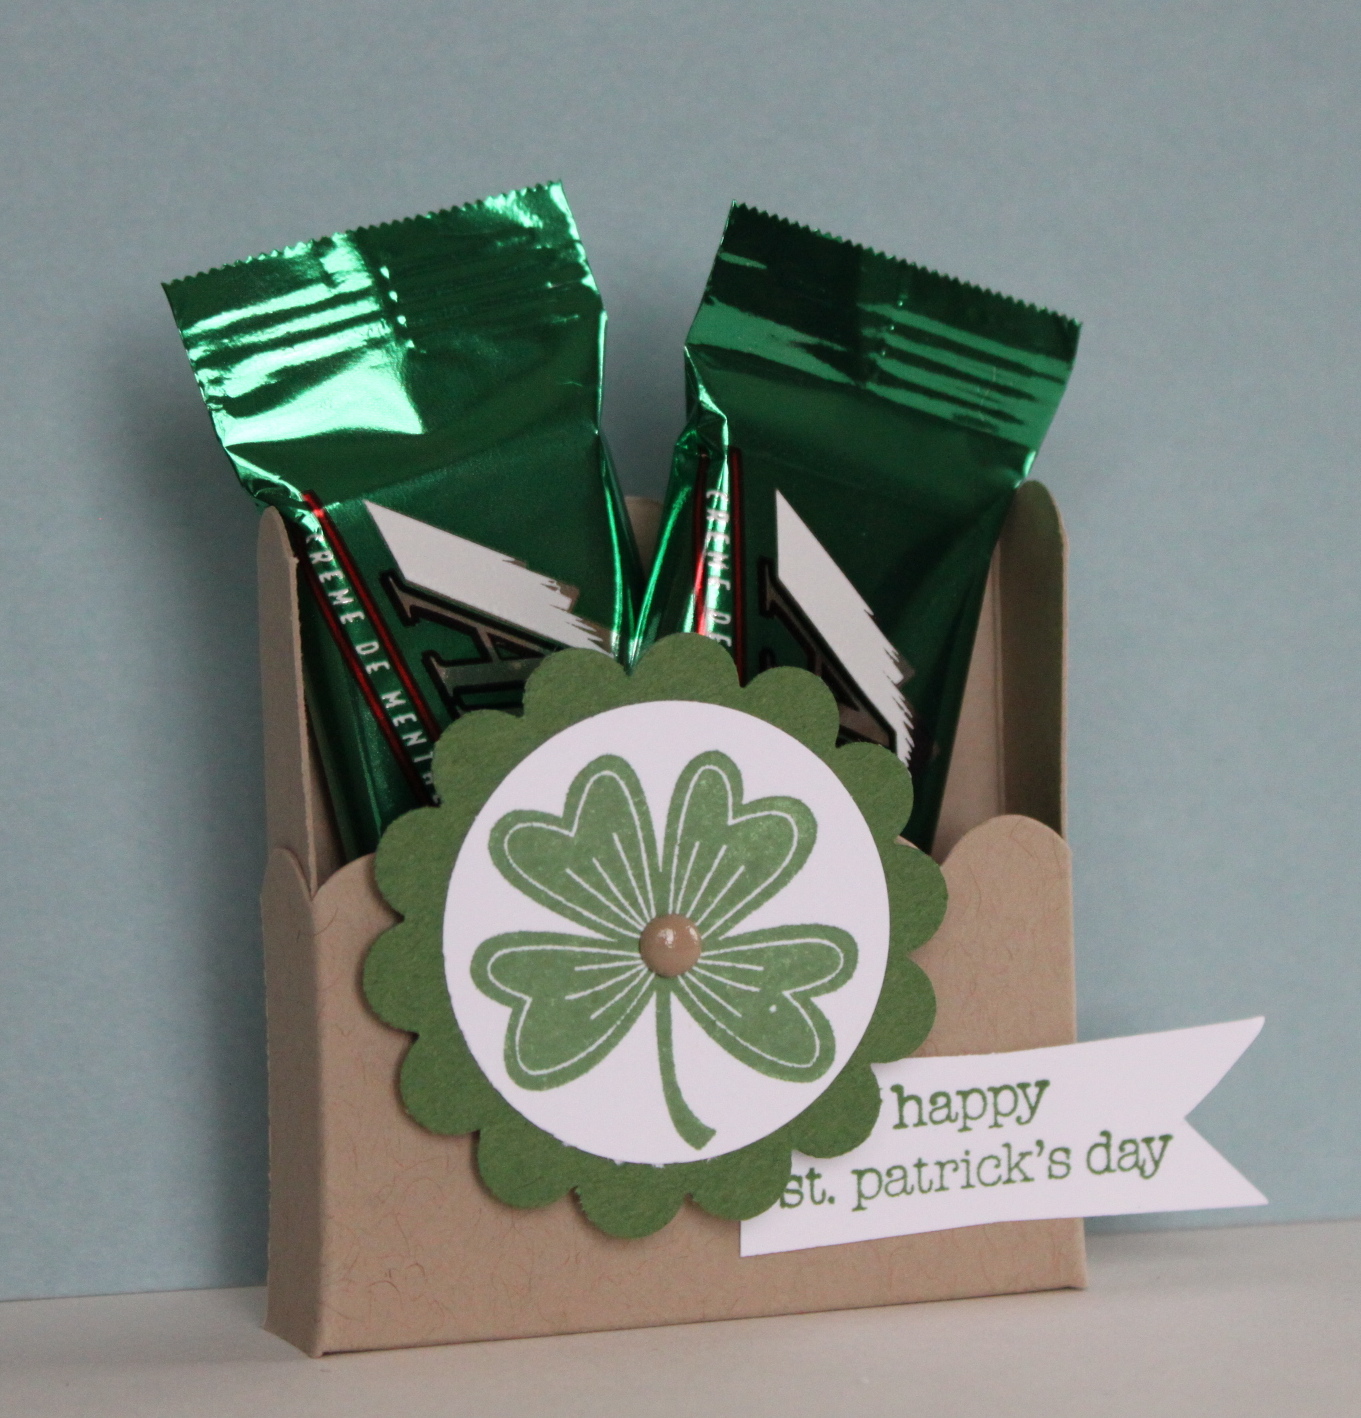
So here's how to make the little pocket treat, or Scallop Square box that I showed you yesterday.


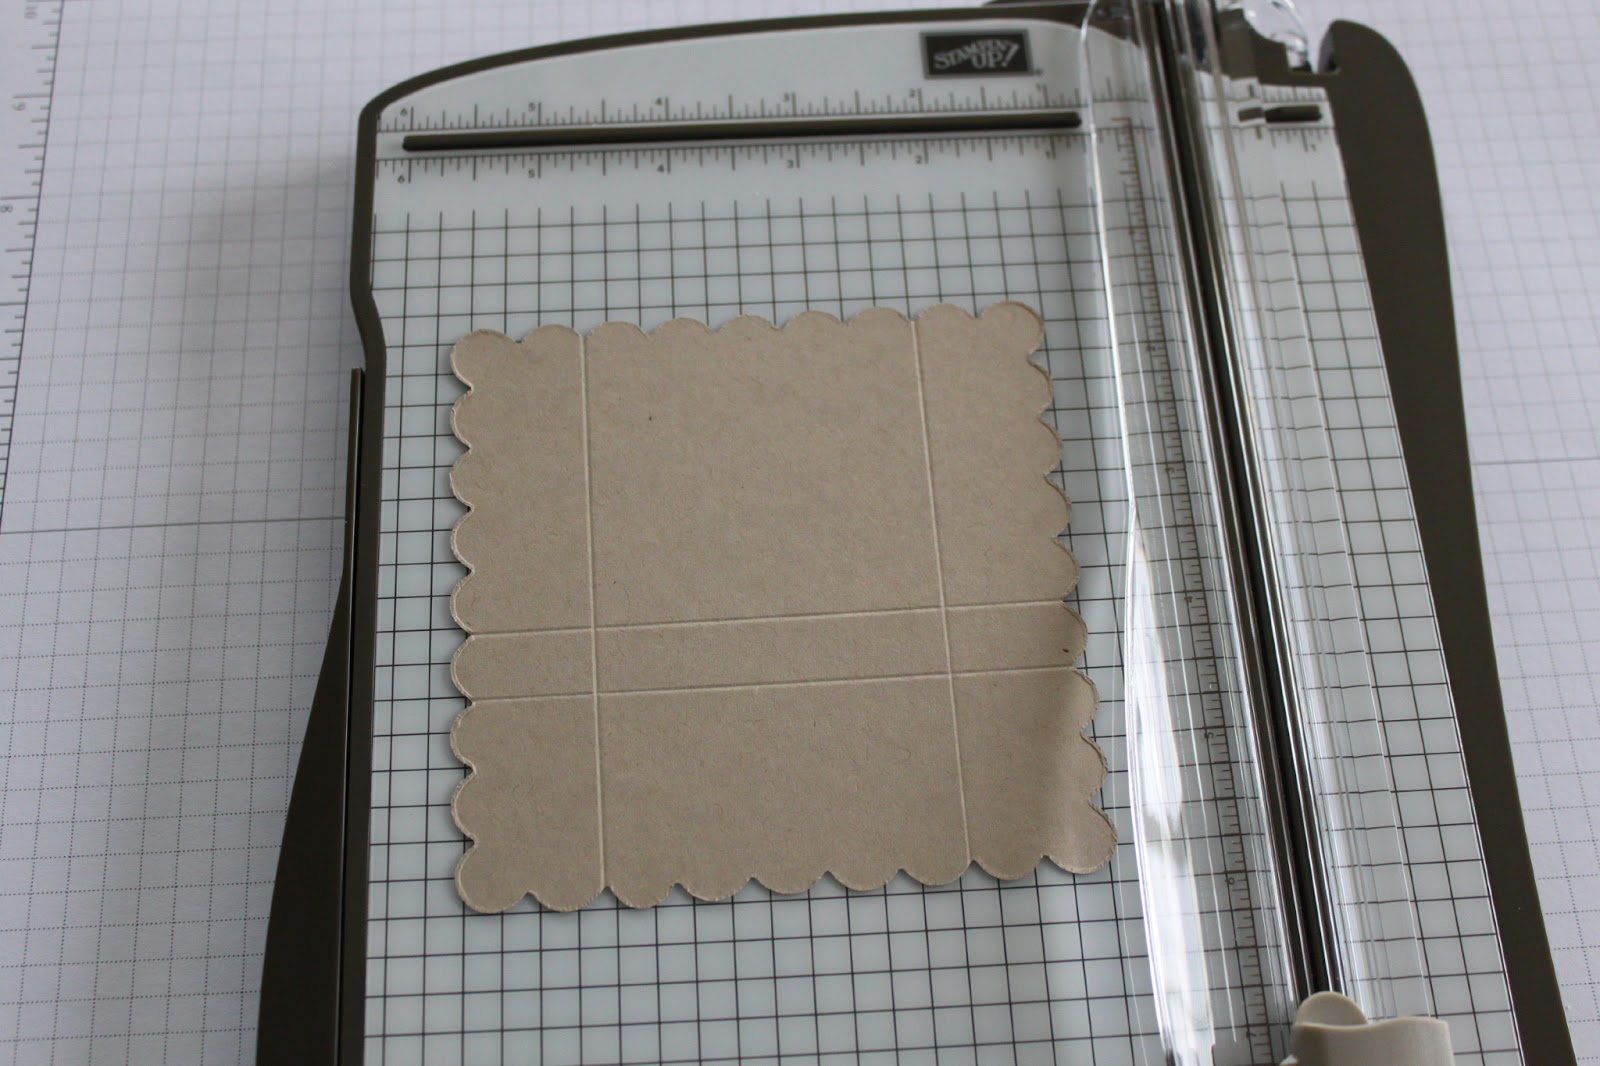
Start with a Scallop Square die cut. Then score lines between the 3rd and 4th scallops on one side. Turn and score between the 2nd and 3rd on each end of that side (looking at the picture makes more sense on this!). These aren't really measured, you just use the scallops for the guide. 
 

Then cut off the end sections on the '2 scallop end sections.'
 

Then cut in on the middle sections to make flaps that will fold in. And put Sticky Strip on the smaller side sections created.
 

Fold in the little flaps, and adhere the Sticky strip section to the outside edge. The bottom being flat makes this come together pretty neatly! And, yes, that makes it able to stand up like a little box.
 

 Now your little box is ready to decorate and fill!  In my final picture, you don't see the cute scallops on the edges, but you could put something smaller on it to show off how cute that looks!


I added the scallop circle and tag (made from the Modern Label Punch). You can see more details on that in yesterday's post.


Then when I added the Andes mints inside I did add a Stampin' Dimensional on the back of each to keep them from falling out of the treat pocket!

How cute would it be to change these up for any holiday or event? And since they stand up, they would be a cute little place setting favor too!
 
Thanks for stopping by,


Julie B